Canning is a time-honored tradition that lets you enjoy your favorite foods long after the season has passed. It might seem overwhelming for those thinking about giving canning a try, but this beginner canning guide will walk you through the basics and help you discover how to can food confidently. From understanding different food preservation techniques to picking up essential canning tips for newbies, you’ll soon find yourself preserving jams, pickles, and more like a pro!
Canning Basics Explained
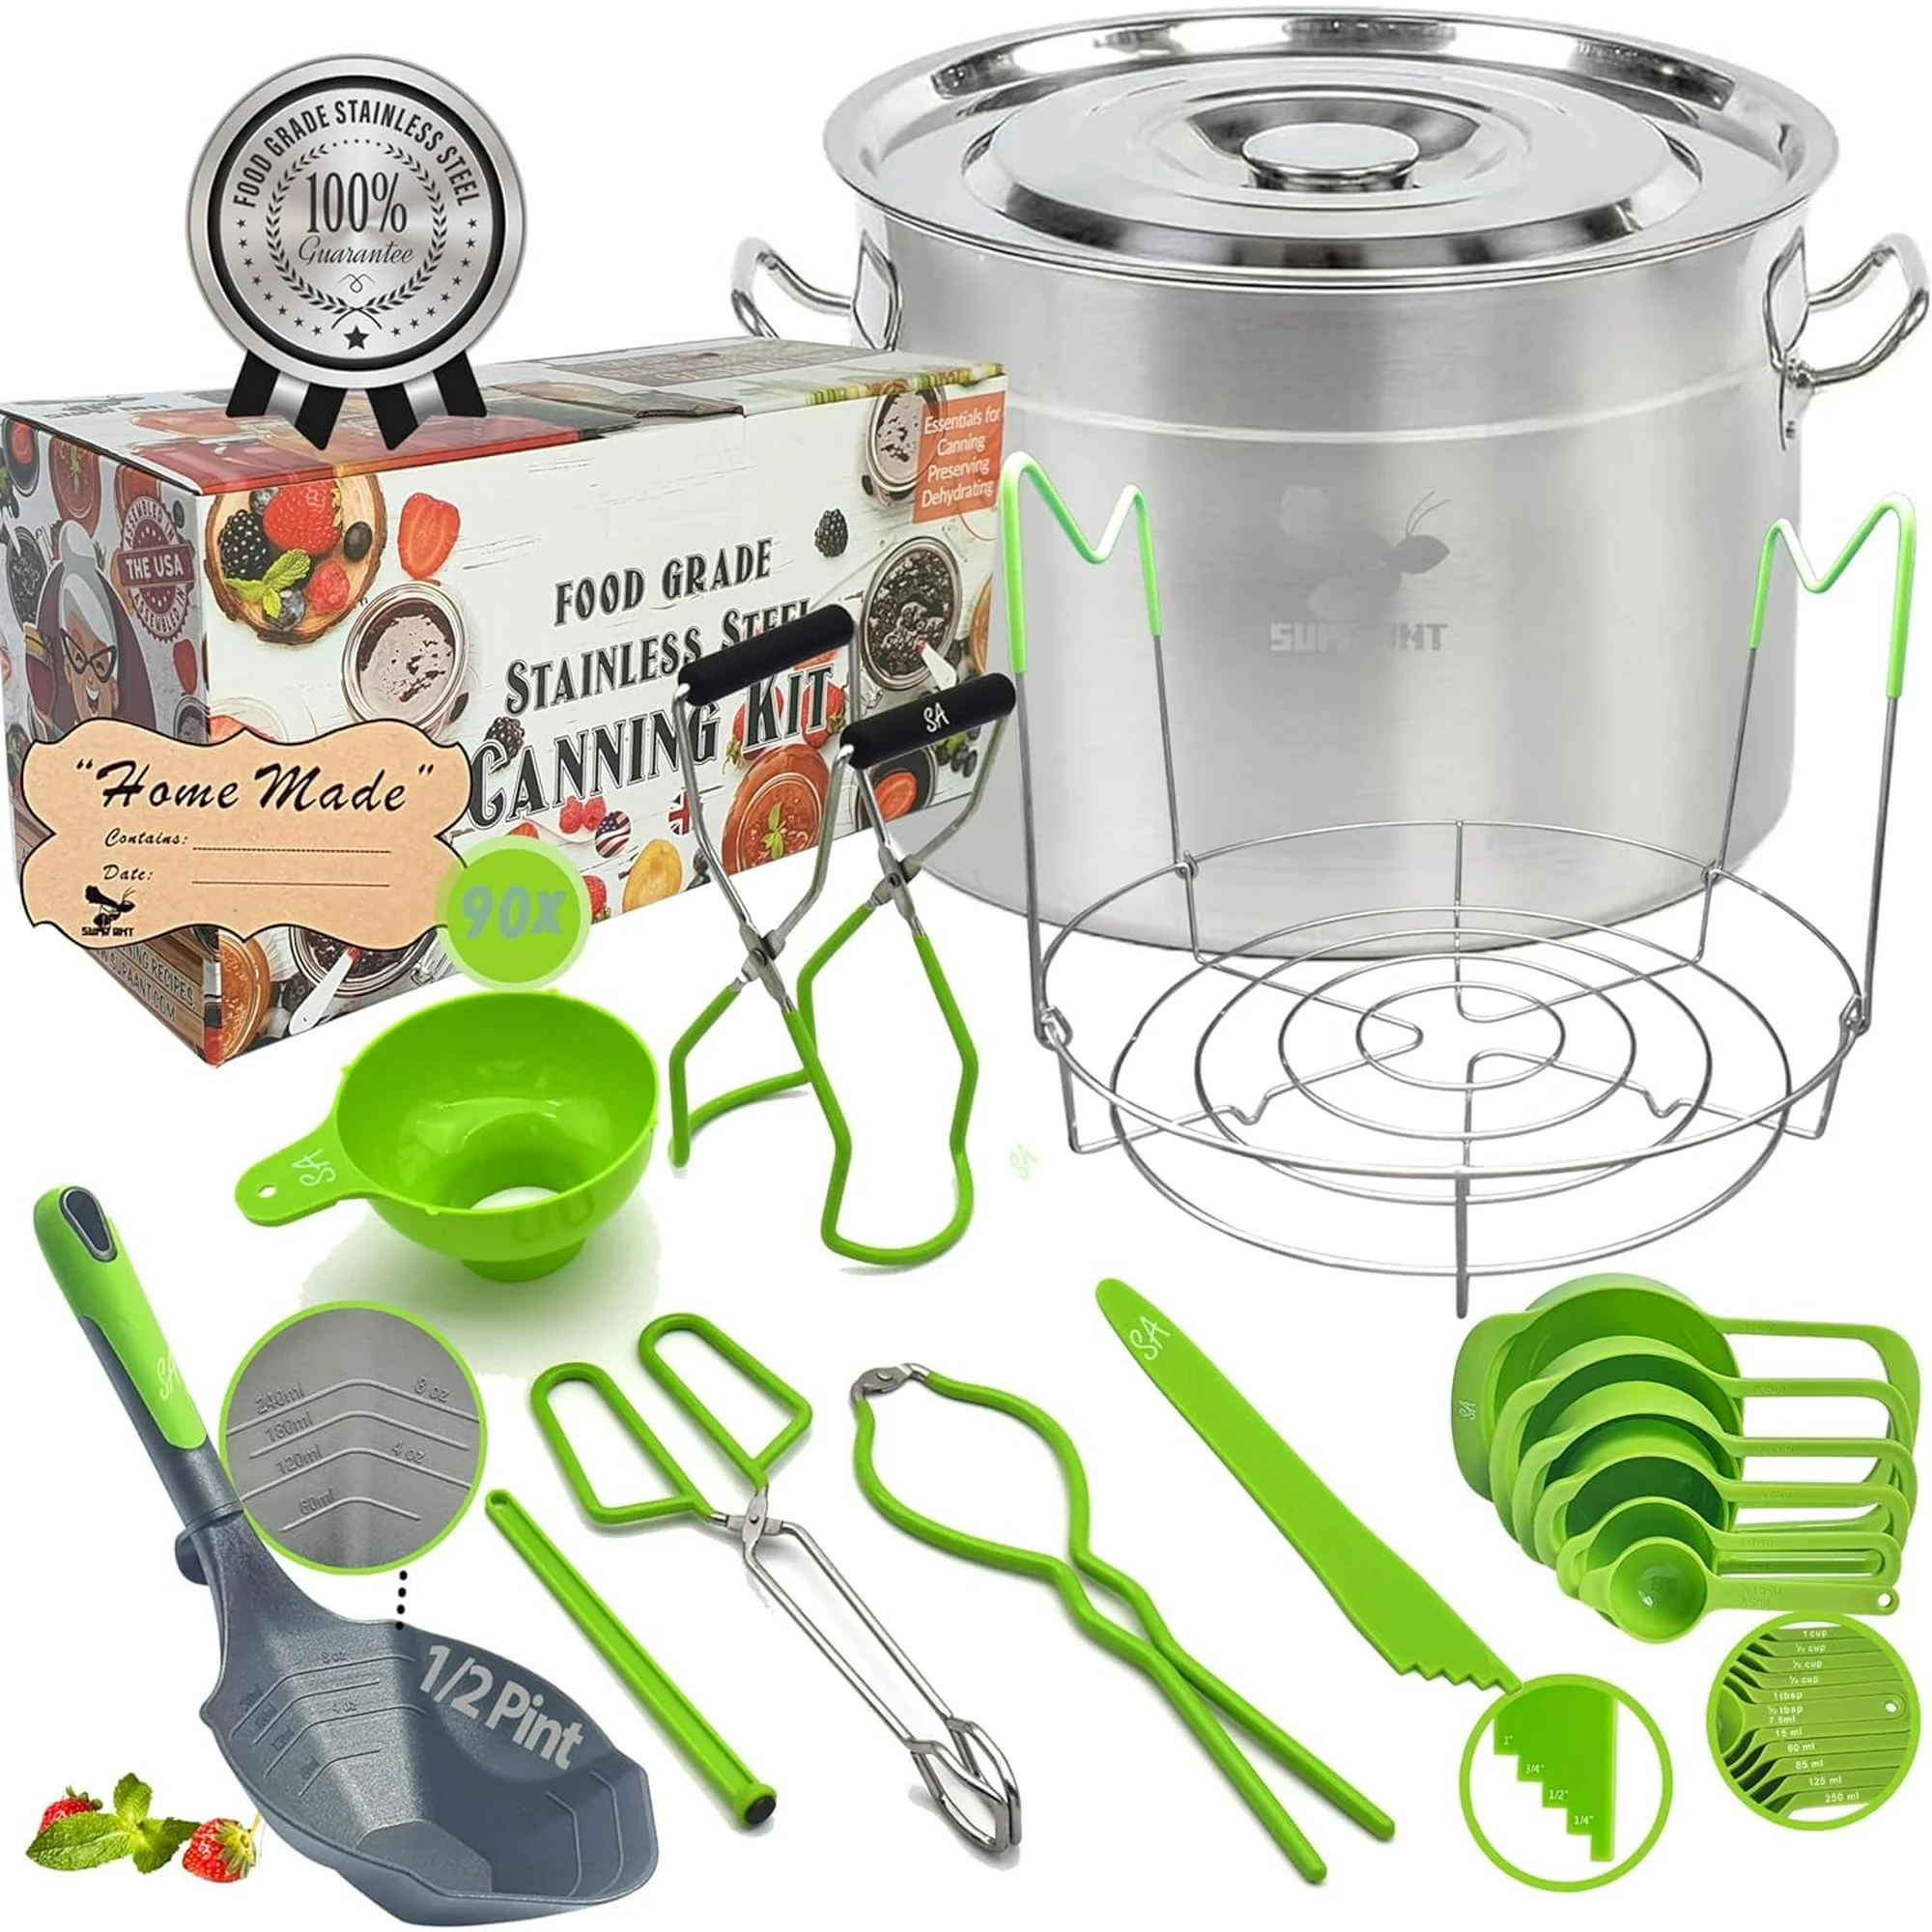
Essential Tools for Canning
Before diving into canning, gathering the right tools is crucial.
- First, you’ll need a large canning pot or a water bath canner. This allows you to process jars safely.
- A jar lifter is also essential for handling hot jars without risk.
- Next, grab a funnel designed for canning; it helps you fill jars without making a mess.
- A magnetic lid lifter is handy for safely retrieving lids from boiling water.
- Don’t forget a bubble remover tool; it ensures there are no air pockets in your jars.
- Using a jar wrench will help you tighten lids just right.
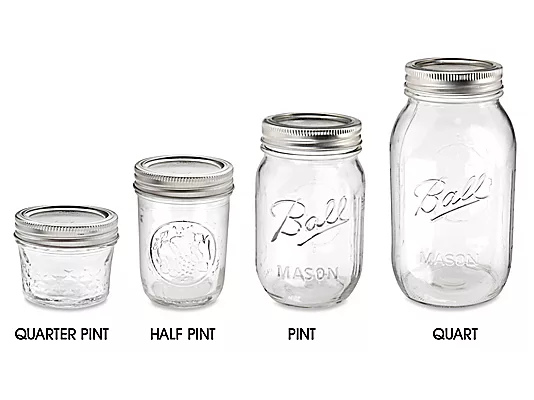
- Lastly, ensure you have an assortment of canning jars, lids, and rings.
Understanding the Canning Process
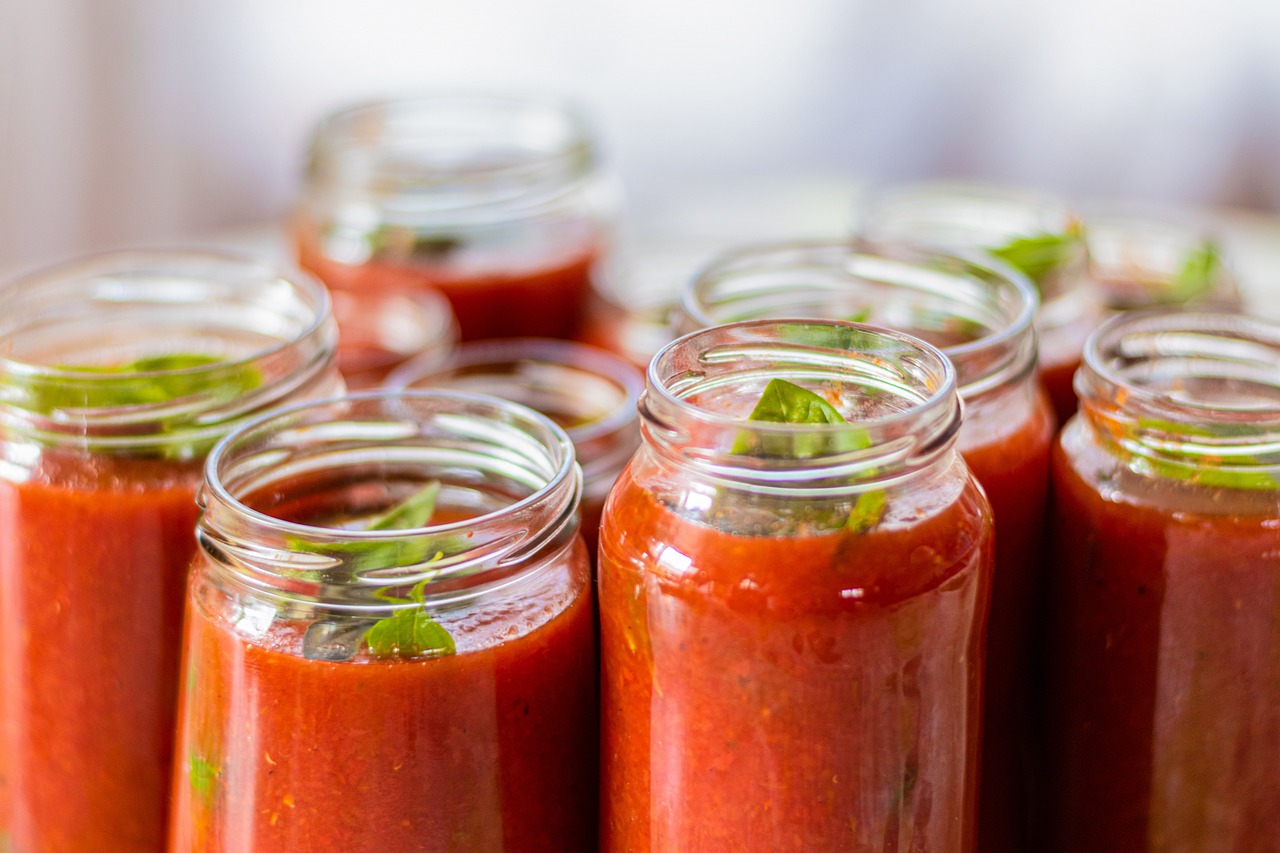
Grasping the canning process is key to preserving your food safely and effectively. Canning involves sealing food in jars and heating them to destroy microorganisms that cause spoilage. This process creates a vacuum seal, keeping your food fresh. There are two main methods: water bath canning and pressure canning. Water bath canning is suitable for high-acid foods like fruits, jams, and pickles. On the other hand, pressure canning is necessary for low-acid foods such as vegetables, meats, and soups, as it reaches higher temperatures to ensure safety. Regardless of the method, always start by sterilizing jars and lids. Fill jars with prepared food, leaving appropriate headspace. Then, process them in the canner for the time specified in your recipe. Finally, let jars cool undisturbed and check seals before storing. By understanding these steps, you’ll be ready to explore canning with confidence.
How to Can Food Safely
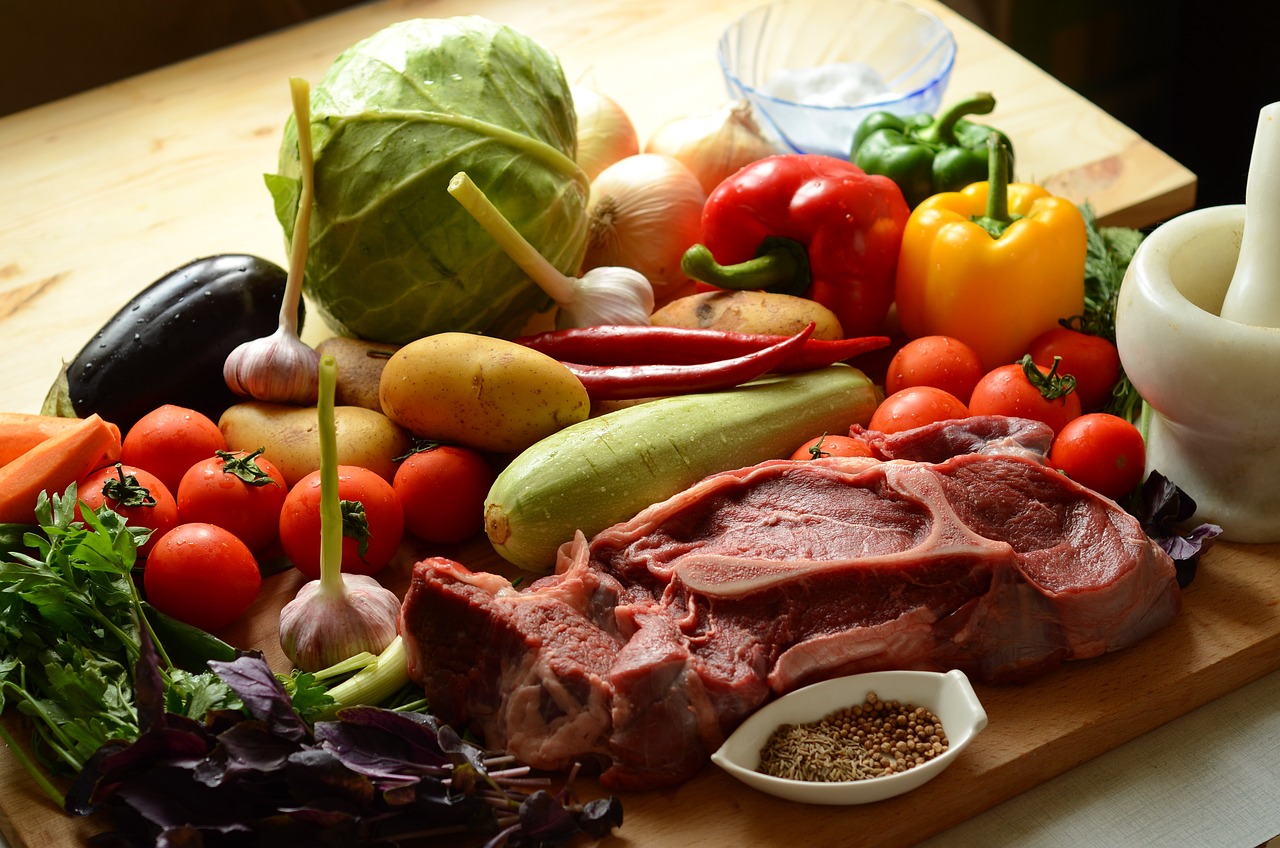
Preparing Your Ingredients
Properly preparing your ingredients is a crucial step in safe canning.
Start by selecting fresh, high-quality produce. The fresher your ingredients, the better your final product will taste.
- Wash all fruits and vegetables thoroughly to remove dirt, pesticides, and bacteria. If you’re canning fruits, peel and core them as needed, and if you’re working with vegetables, trim and chop them according to your recipe.
- For meats, ensure they’re trimmed of excess fat and cooked if your recipe requires it.
- Additionally, measure and prepare any other components, like sugar, spices, or vinegar, as these often enhance flavor and aid preservation.
- It’s also essential to keep your workspace clean and organized to prevent contamination.
By taking the time to prepare your ingredients correctly, you’ll set the stage for a successful canning session, ensuring your preserved food is both delicious and safe to consume.
Sterilizing Jars and Equipment
Sterilizing jars and equipment is a vital step in ensuring the safety and longevity of your canned goods.
- Begin by washing jars, lids, and rings in hot, soapy water. Rinse them thoroughly to remove soap residue.
- For sterilization, place jars in a large pot filled with water, ensuring they’re completely submerged. Bring the water to a boil and let the jars boil for at least 10 minutes. Lids and rings only need a few minutes in simmering water, as boiling them can damage the sealing compound. Jars can also be sterilized in the oven (this is my preferred way). Choose the method you are most comfortable with.
- Use a jar lifter to handle the hot jars safely. Keep the jars in hot water until you’re ready to fill them to prevent breakage from thermal shock.
- Having sterile equipment reduces the risk of contamination from bacteria and mold, which could spoil your food.
By taking the time to sterilize properly, you’ll help ensure that your preserved goods remain safe and delicious.
Canning Tips for Newbies
Common Mistakes to Avoid
New canners often make a few common mistakes that can affect the quality and safety of their food preservation efforts.
- One frequent error is not following a tested recipe. Stick to reliable sources and precise measurements to ensure safety and success.
- Another mistake is neglecting to adjust processing times for altitude; higher elevations require longer processing times to ensure food safety.
- Using old or damaged jars and lids can also lead to seal failures, so always inspect your equipment before use.
- Avoid overfilling jars; leaving appropriate headspace is crucial for proper sealing.
- Additionally, skipping the step of removing air bubbles can lead to spoilage, so always use a bubble remover tool.
- Lastly, don’t rush the cooling process; moving jars too soon can disrupt the vacuum seal.
By being mindful of these pitfalls, you’ll increase your chances of a successful canning experience, ensuring your preserved goods are safe and delicious.
Storing Your Preserved Foods
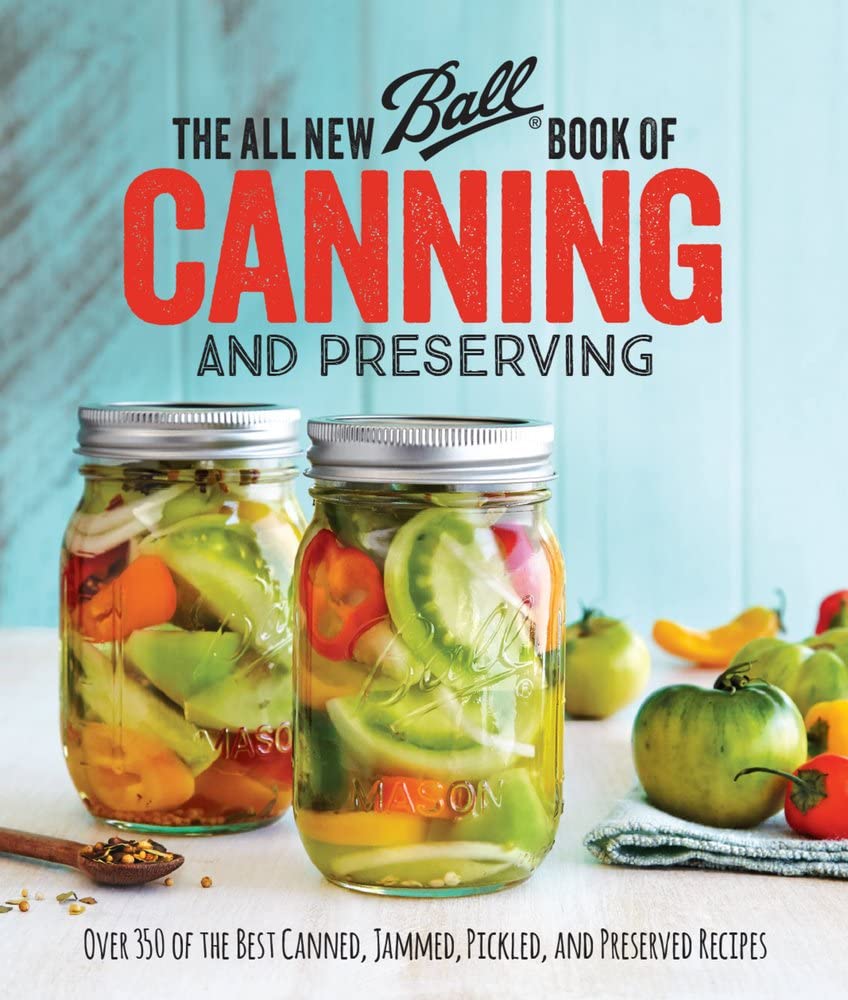
Proper storage of your canned goods is essential to maintain their quality and safety. After processing, allow jars to cool undisturbed for 12 to 24 hours to ensure a solid seal. Once cooled, check each jar for a proper seal by pressing the center of the lid; it shouldn’t flex. Label jars with the contents and the date of canning. Store them in a cool, dark, dry place, ideally between 50°F and 70°F, to preserve flavor and nutritional value. Avoid exposure to direct sunlight or fluctuating temperatures, which can compromise the seal and degrade quality. Keep jars upright to maintain the seal integrity. Regularly inspect stored jars for signs of spoilage, such as bulging lids, leaks, or unusual odors. Consume home-canned goods within a year for the best quality. By following these storage tips, you’ll ensure your preserved foods remain safe and delicious for months to come.
Useful Resources for Canning
To further enhance your canning journey, here are some helpful resources filled with expert advice and detailed guidance:
National Center for Home Food Preservation
Website: nchfp.uga.edu
Offers comprehensive guides on safe canning and preserving practices.
Ball Canning: Fresh Preserving
Website: FreshPreserving.com
Provides canning recipes, tips, and a range of canning products.
Canning and Preserving Made Easy (Book)
Available on Amazon
A beginner-friendly book that covers various techniques and recipes for home canning.
USDA Complete Guide to Home Canning
PDF: USDA Guide
An official resource with scientific guidelines and instructions for safe home canning.
Food Preservation FAQ by Penn State Extension
Website: extension.psu.edu
Answers to common questions about canning and food preservation.
Use these resources to deepen your understanding, discover new recipes, and ensure your canning practices are both safe and effective. Happy canning!
https://nchfp.uga.edu/how/can
https://www.ballmasonjars.com/canning-and-preserving-101.html
https://nchfp.uga.edu/how/can/general-information/sterilization-of-empty-jars/
https://marydisomma.com/blogs/recipes/how-to-properly-sterilize-jars-for-canning#:~:text=I%20prefer%20to%20use%20the,the%20oven%20for%2010%20minutes.




Pingback: Embrace The Chill: How To Escape The Curse Of “Cuffing Season” → urbanladyprepper.com